
INDIGO DYEING : Questions & Answers
Some of the questions on this page are specific to indigo dyeing using our Indigo & Shibori Natural Dye Kit, but many are applicable to indigo dyeing more broadly!
Your dye kit comes complete with a load of supplies and materials that you can use to make designs on fabrics. Some parts of the process are complex and we may not have had room in the printed instructions included to go in depth.
If you have a question that has not yet been answered to your satisfaction, ask away!

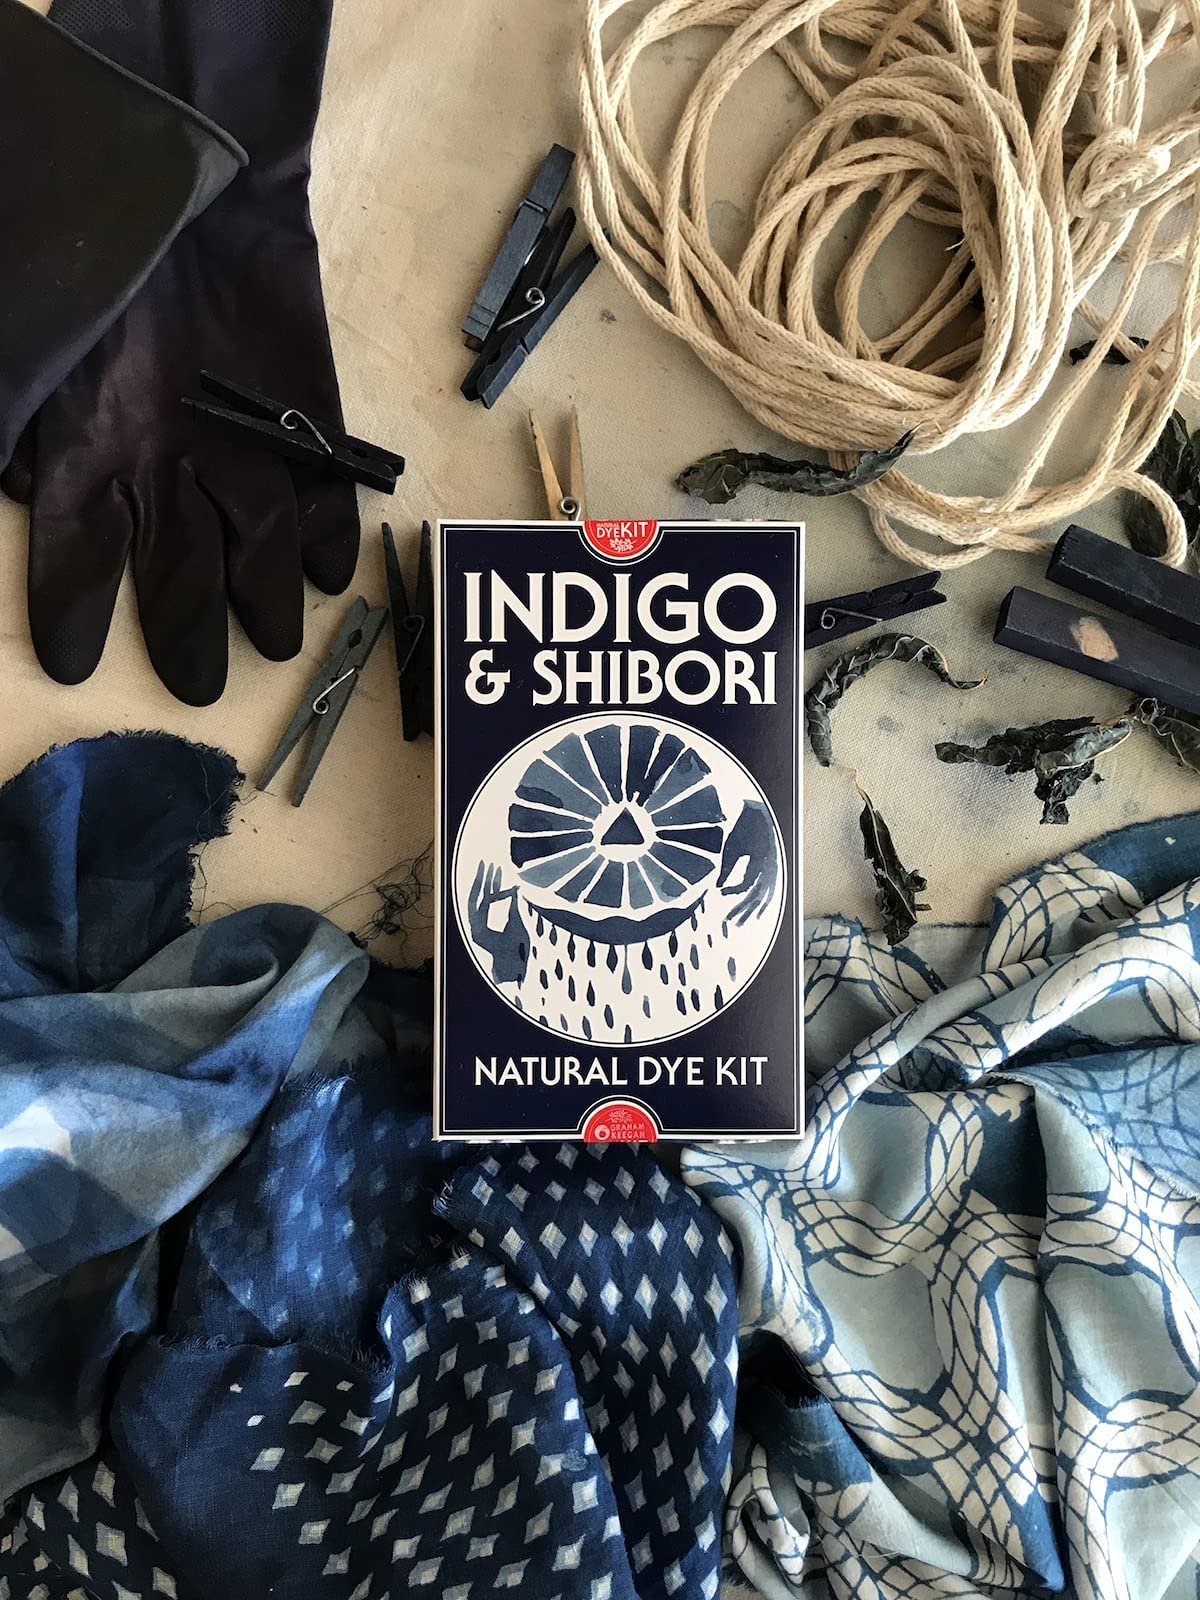
This natural indigo dye kit is packed with everything you need to create a bundle of permanent, dyed patterns on any plant-based fabric. We’ve gathered the finest quality ingredients and supplies for you: the beginner to intermediate dyer. May this kit inspire and challenge you to create new, beautiful work. Share your results with us online at www.naturaldyekits.com and enjoy!
THIS KIT INCLUDES:
Naturally derived indigo pigment
All necessary activation and setting agents
Protective gloves
A blank cotton gauze bandana
Wood clamps and cotton cord
Illustrated instructions
YOU WILL NEED:
Two five gallon buckets: one for dyeing, one for rinsing
A long mixing stick
Hot water
TIPS & INFO:
For best results dye small pieces of natural fabric, or lightweight natural fabrics with open weave structure.
Dyes up to 5 lbs of fabric or a dozen garments depending on coverage and shade.
Prep your vat then wait 24 hours for it to mature before dyeing.
Vat stays viable for weeks, just stir and revisit.
WARNING: This kit contains Indigotin, Calcium Hydroxide, Iron Sulfate and Citric Acid which can be harmful if used improperly! Follow all instructions carefully.
Adult supervision required.
Conforms to ASTM D-4236
KEEP OUT OF REACH OF CHILDREN.
Access FAQs, browse tutorials on dyeing patterns and share your work at www.naturaldyekits.com.
Domestic shipping via USPS First Class Mail is $3.50, select shipping upgrade to Expedited Shipping for fastest delivery available.
For international shipping options we invite you to visit our Etsy store: https://www.etsy.com/shop/GrahamKeegan
USE KEYWORDS TO SEARCH FOR ANSWERS TO YOUR QUESTIONS
The following is an index list of each Question and Answer title, click on the title to read the corresponding Q&A, or simply use search terms in the search box above to see if your question has been answered!
-
DIP TECHNIQUE
- Jul 26, 2023 Avoiding Fading
- Jul 26, 2023 Dipping Resist Pieces
- Jul 26, 2023 Maintaining Your Whites While Rinsing
- Jul 25, 2023 Dyeing Over Multiple Days
- Jul 25, 2023 Avoiding Sediment
- Jul 25, 2023 How Sediment Affects Your Dyeing and the Importance of Proper Rinsing
- Jul 25, 2023 Tips for Using Rice Paste in a Ferrous Vat
- Jul 25, 2023 Tips for Getting the Darkest Blues
- Jul 25, 2023 Suggestions for Uneven Coloration
- Jul 25, 2023 Rinsing Stencil Print Between Dips
- Jul 25, 2023 Number of Dips for Different Shades of Indigo
- Jul 20, 2023 Avoiding Sediment in the Ferrous Indigo Vat
-
DYE GARDEN QUESTIONS
- Jul 26, 2023 Starting Indigo Seeds Indoors Versus Outdoors
- Jul 25, 2023 When to Plant Indigo Seeds
- Jul 25, 2023 Indigo Seed Propagation
-
GENERAL INDIGO DYEING QUESTIONS
- Jul 26, 2023 Calculating Amount of Indigo Needed
- Jul 25, 2023 Dyeing Protein Fibers in a Natural Indigo Vat
- Jul 25, 2023 Dyeing Stretch Fabric with Natural Indigo
- Jul 25, 2023 Ferrous Vat Longevity
- Jul 25, 2023 Shelf Life of Natural Indigo and “Pasting-Up” Your Powder
- Jul 25, 2023 Toxicity of Indigo and Indigo Dyeing
- Jul 25, 2023 Indigo and Splatter Dyeing
- Jul 25, 2023 Indigo and Cotton Velveteen
- Jul 25, 2023 Indigo and Polyester
- Jul 25, 2023 Over-dyeing with Indigo
- Jul 25, 2023 Is Indigo Dye Okay for Sensitive Skin, Is it Safe Enough to use on Baby Clothes?
- Jul 25, 2023 Light and Pale Shades of Indigo
- Jul 25, 2023 Fixing Indigo Onto Fabric
- Jul 25, 2023 Materials and Fabrics Suitable for Indigo Dyeing
- Jul 25, 2023 Disposing of a Ferrous Indigo Vat
- Jul 25, 2023 Large Container e.g. Trash Can Vat
- Jul 20, 2023 Dye Vat Capacity
-
INDIGO LEAF EXTRACTION
- Jul 25, 2023 Making a Ferrous Vat with Fresh Indigo Leaves
- Jul 25, 2023 Clarification on Indigo Extraction
-
INDIGO VAT TIPS & TROUBLESHOOTING
- Jul 26, 2023 Is the Fermentation Vat the Best Vat?
- Jul 26, 2023 Indigo Vat Troubleshooting: No Longer an Odor
- Jul 26, 2023 Indigo Vat Troubleshooting: Dark Blue Vat
- Jul 26, 2023 Indigo Vat Troubleshooting: Greenish Tint
- Jul 26, 2023 Avoiding Fading
- Jul 26, 2023 Waiting 24 Hours Between Mixing and Using Your Indigo Vat
- Jul 26, 2023 Quantity of Indigo Paste in a Vat
- Jul 26, 2023 Making a Long Term Vat
- Jul 25, 2023 Indigo Flower Comes and Goes
- Jul 25, 2023 Using Pencil to Make Marks on Fabric - Does Graphite Affect the Vat?
- Jul 25, 2023 Under-Reduced Fructose Vat
- Jul 25, 2023 Troubleshooting a Different Vat Recipe
- Jul 25, 2023 Avoiding Sediment
- Jul 25, 2023 Indigo Vat Troubleshooting: Recipe Quantities for a Large Vat
- Jul 25, 2023 Sharpening Your Vat
- Jul 25, 2023 Stirring Your Vat
- Jul 25, 2023 Adding More Pigment to a Fresh Leaf Extraction Vat
- Jul 25, 2023 Making a Vat for Pale Dyeing
- Jul 25, 2023 Sizing Up Your Vat
- Jul 25, 2023 Indigo Vat Troubleshooting: Lye and Hydrosulfite
- Jul 25, 2023 Recipe for Pickling Lime and Fructose Vat
- Jul 25, 2023 Thoughts on Using Soda Ash and Spectralite Instead of Iron and Lime in Making a Dye Vat
- Jul 25, 2023 Giving Your Vat Enough Time to Set Up
- Jul 25, 2023 Switching Reducing Agent and pH Combo When Sharpening Your Vat
- Jul 25, 2023 Vat Temperature
- Jul 25, 2023 Precision of pH for Ferrous and Fructose Vats and Indicators of Under or Over Reduction
- Jul 25, 2023 Forms of Indigo that Work in a Ferrous Vat Recipe
- Jul 25, 2023 Indigo Vat Troubleshooting: Sludge and Sediment
- Jul 25, 2023 Indigo Vat Diagnosis: Vat Color, Flower, and pH
- Jul 25, 2023 Iron Vat Temperature
- Jul 25, 2023 Dissolving Lime in an Indigo Vat
- Jul 25, 2023 Reviving a spoiled or 'oxidized' indigo dye vat
- Jul 25, 2023 Mixing and Combining New Vat Ingredients with Old or Spent Vats
- Jul 25, 2023 Indigo Vat Mixing Temperature
- Jul 25, 2023 Weak Vat, Old Vat and Vat Health Restoration
-
PRE AND POST-DYE TREATMENTS & TIPS
- Jul 26, 2023 Preventing Crocking and Dyeing Large Fabrics Like Bedding
- Jul 26, 2023 Avoiding Fading
- Jul 26, 2023 Rinsing in Still Versus Running Water
- Jul 25, 2023 How Sediment Affects Your Dyeing and the Importance of Proper Rinsing
- Jul 25, 2023 Troubleshooting Strange Fading Patterns and Discoloration
- Jul 25, 2023 Suggestions for Uneven Coloration
- Jul 25, 2023 Fabric Drying Stiff and Crispy Post-Dyeing
- Jul 25, 2023 Indigo Post-Dye Rinse: Purposes and Options
- Jul 25, 2023 Protecting Your Indigo-Dyed Pieces From Fading: Proper Scouring and Soy Milk Treatment
- Jul 25, 2023 Sun Fading of Indigo
- Jul 20, 2023 Best Way to Dry Indigo Dye
-
QUESTIONS ABOUT OUR INDIGO & SHIBORI DYE KIT
- Jul 26, 2023 Waiting 24 Hours Between Mixing and Using Your Indigo Vat
- Jul 25, 2023 Scaling Down Vat Size
- Jul 25, 2023 How Much Fabric Will the Natural Indigo & Shibori Dye Kit Dye?
- Jul 25, 2023 Ferrous Vat Longevity
- Jul 25, 2023 Components in the Natural Indigo & Shibori Dye Kit
- Jul 25, 2023 Indigo Form in the Natural Dye Kit
- Jul 25, 2023 Indigo Kit and Dyeing Large Items
- Jul 25, 2023 Light and Pale Shades of Indigo
- Jul 25, 2023 Scent of Natural Indigo
- Jul 20, 2023 Dye Vat Capacity
-
RICE PASTE
- Jul 26, 2023 Dipping Resist Pieces
- Jul 26, 2023 Pastry Cones for Applying Rice Paste Resist
- Jul 26, 2023 Indigo Resist Screen Printing
- Jul 26, 2023 Rice Paste Resist Longevity
- Jul 26, 2023 Destabilized AKA De-Fatted Bran in Rice Paste Resist
- Jul 25, 2023 Tips for Using Rice Paste in a Ferrous Vat
- Jul 25, 2023 Rinsing Stencil Print Between Dips
-
TIPS FOR VARIOUS DYE PROJECTS
- Jul 26, 2023 Preventing Crocking and Dyeing Large Fabrics Like Bedding
- Jul 26, 2023 Using Fresh Goldenrod Leaves to Make a Paintable Dye Pigment
- Jul 26, 2023 Type of Wood for Making Block Prints
- Jul 26, 2023 Mordant Recipe: Block vs Screen Printing
- Jul 26, 2023 Making a Stamp Pad
- Jul 26, 2023 Dyeing with Fresh Plants
- Jul 26, 2023 Indigo Resist Screen Printing
- Jul 26, 2023 Destabilized AKA De-Fatted Bran in Rice Paste Resist
- Jul 25, 2023 Dipping Metal in my Vat
- Jul 25, 2023 Using Natural Indigo Paste
- Jul 25, 2023 Dyeing Vegetable Tanned Leather
- Jul 25, 2023 Tips for Using Rice Paste in a Ferrous Vat
- Jul 25, 2023 Dyeing Paper
- Jul 25, 2023 Chalk and Cheesecloth Clarification in Mordant and Block Printing
-
USING MORDANTS
- Jul 26, 2023 Mixing Mordant
- Jul 26, 2023 Mordant Recipe: Block vs Screen Printing
- Jul 26, 2023 Diluting Mordant Paste
- Jul 25, 2023 Chalk and Cheesecloth Clarification in Mordant and Block Printing
Making a Ferrous Vat with Fresh Indigo Leaves
Q: I grew some indigo plants and i’d like to make a ferrous vat so I can do some dyeing. Can you tell me how?
A: I have a resource page with lots of information on different ways to dye using indigo plants here: https://www.grahamkeegan.com/i-grew-some-indigo-now-what.
A quick sketch for making a ferrous vat with fresh indigo plants is as follows: soak your leaves in a 5 gallon bucket for a couple days until the leaves lose their color, then remove the old leaves and stems and keep the liquid. Add about a tablespoon of slaked lime to the liquid in the bucket, then aerate it until it turns dark blue. Once you've got the indigotin formed (dark blue liquid) then you can decant a gallon of the liquid, heat it to simmering, add 100g Ferrous Sulfate and 150g Slaked Lime, cover and let cool for a half hour before adding back into the larger bucket. Then let the bucket rest (though stirring intermittently) for an hour or so before trying to dye in it!
If you are unable to heat your liquid during this process, you can add the lime and reducing agents at room temperature, but without heat the chemical transformation can take as long as24 hours to complete whereas with heat it only takes an hour.
Keep a lid on the vat at all times and keep the water level up as high to the lid as you can. If you need to top it up, use boiling water.
Clarification on Indigo Extraction
Q: I have a question about getting indigo pigment from the indigo I grew. I saw the PDF you have on your website where you alkalize and oxidize. At the end it says to prepare your vat or let dry. How do you dry? Do you leave it in the container with the lid open? I also was wondering if the size of container mattered? Is it better to do in small batches instead of a large amount? Also, how long is the shelf-life of the extracted pigment if I am not yet ready to make my vat?
A: If you let your pigment settle for a few days you can pour off the liquid on top. You can then put the remaining concentrate in a container and further boil it off or just let it sit out to dry. There’s an indefinite shelf-life so no rush to make your vat. Just keep the dried sediment in a jar in a cool place and out of the sun.
I would suggest doing bigger batches if you can. Small batches yield verrrrry little pigment each so the bigger the batch, the fewer times you’ll have to do the process!
There are some posts on my Instagram (@yesgraham) with shots of the indigo extraction process. You can also find information from other folks on Instagram using these tags as well: #indigoextraction2017, #indigoextraction2018, and #indigoextraction2019.